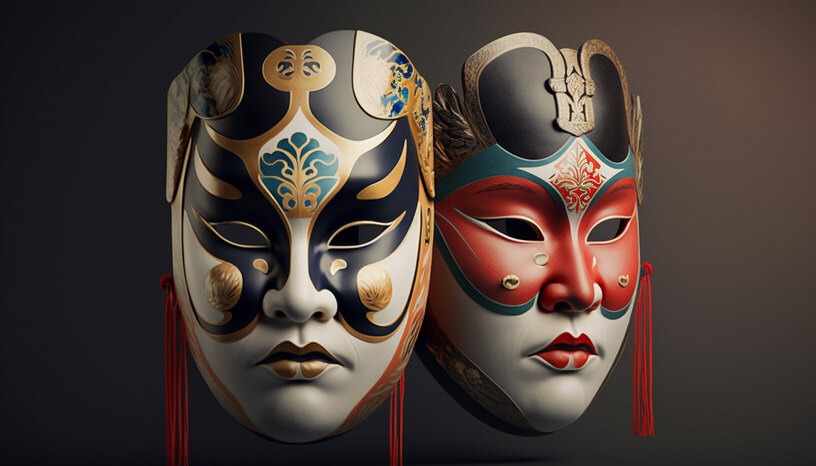
Necessary Materials
To start, you will need the following items:
- A basic plastic or foam mask
- Acrylic paints in various colors
- Brushes in different sizes
- Permanent markers
- Glitter, rhinestones, and other decorations
- Strong glue
- Scissors and a craft knife
- Painter’s tape
- Protective varnish
Step 1: Prepare the Mask
Cleaning: Make sure the mask is clean and dry before starting. Wipe it with a damp cloth to remove any dust or dirt. Sanding (optional): If your mask is plastic, you can lightly sand it with fine-grit sandpaper to help the paint adhere better.
Step 2: Plan the Design
Sketching: Use a pencil to lightly draw the patterns or designs you want on the mask. This will give you an idea of the final look. Tape: Use painter’s tape to mask off areas you don’t want to paint.
Step 3: Base Painting
Base color: Apply a coat of acrylic paint in the base color of your mask. Let it dry completely. Additional coats: Apply additional coats if necessary to achieve a uniform and vibrant color.
Step 4: Add Details
Painting patterns: Use fine brushes to paint the patterns and details you sketched. Take your time to ensure clean, precise lines. Permanent markers: For fine lines or small details, permanent markers can be very useful.
Step 5: Decorations
Glitter and rhinestones: Apply strong glue to the areas where you want to add glitter or rhinestones. Press them gently into place and let them dry. Other decorations: You can also add elements like feathers, small beads, or fabric pieces to give more texture and dimension to your mask.
Step 6: Finishing Touches
Remove the tape: Carefully remove the painter’s tape to reveal clean, sharp lines. Protective varnish: Apply a coat of protective varnish over the entire mask to seal the paint and decorations. This will help protect your work and prolong the life of your mask.
Step 7: Adjustments and Trials
Adjustments: Try on the mask and make any necessary adjustments. Ensure that the decorations do not obstruct your view or comfort. Final tweaks: Make the final tweaks to ensure everything is well-secured and that the mask is comfortable to wear.